前言
毕设的系统原本的文件存储是直接放在服务器里面的,每次复现图片或视频的时候都贼慢,就打算将这一块直接搬到云端上去(反正可以报销😋),加上服务器是腾讯云的,就想着直接用腾讯云的对象存储搞这个事情了。
参考链接
引用站外地址
引用站外地址
对象存储 快速入门-SDK 文档-文档中心-腾讯云 (tencent.com)
腾讯云
1. 腾讯云对象存储
没有账号的先去创建个账号,注册 - 腾讯云 (tencent.com)
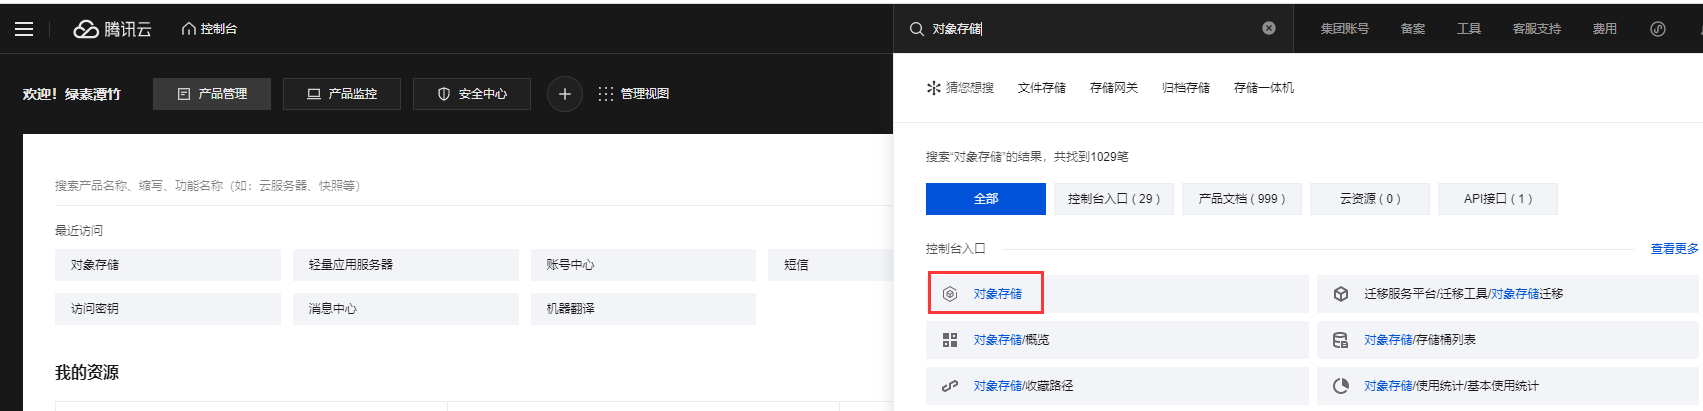
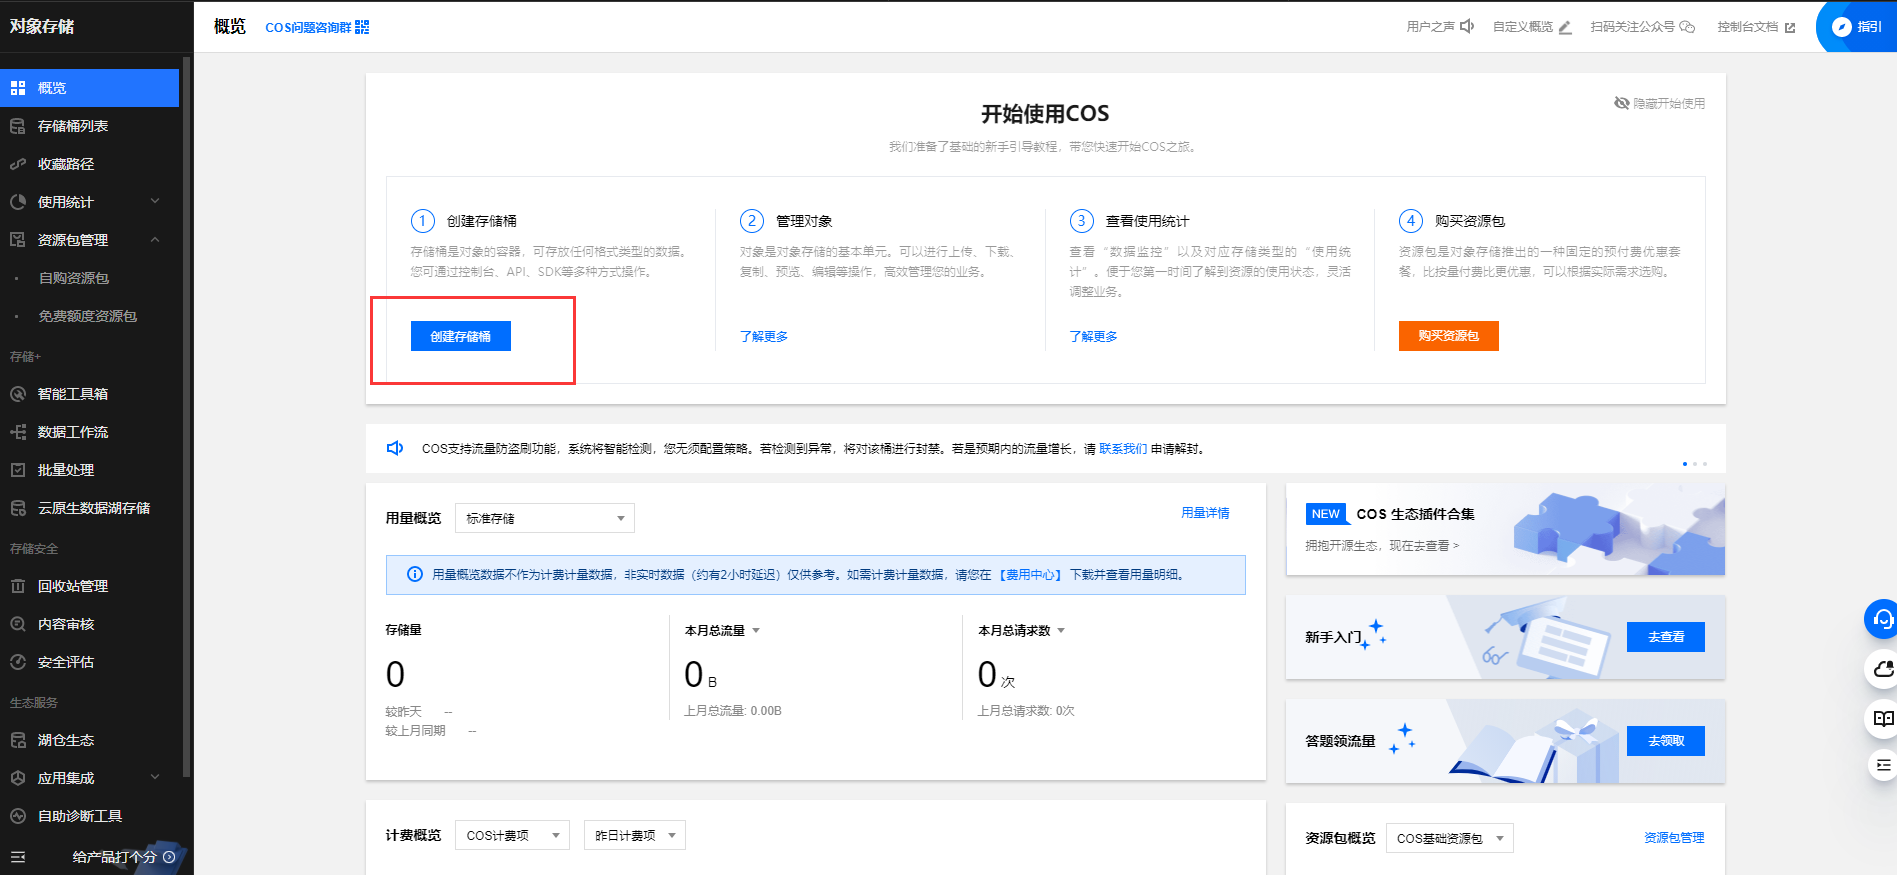
1. 开通对象存储
控制台->搜索->对象存储
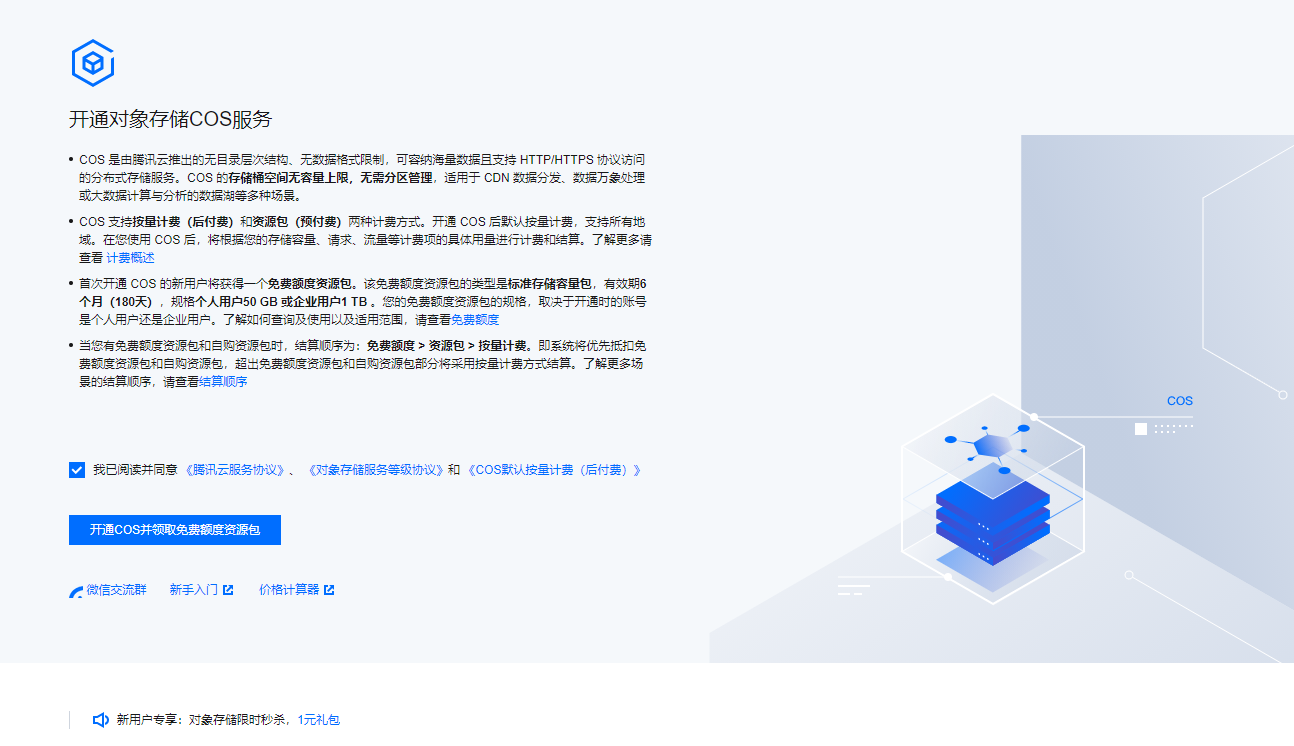
点击开通,新用户会有时期180天的50G存储容量,底下的新用户专享里面有些不错的优惠,我写的时候有1元一年50G的存储容量
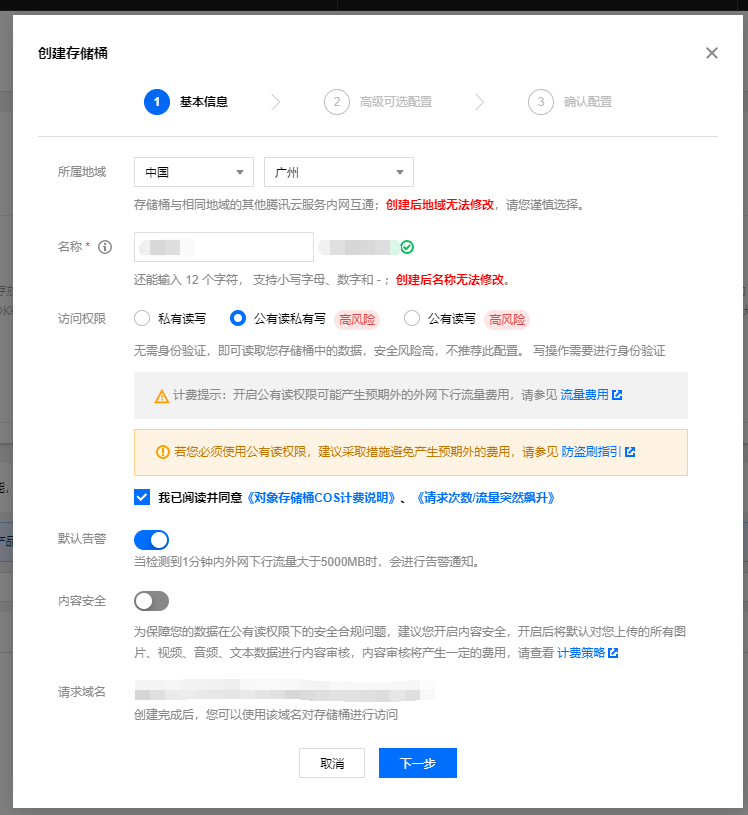
2. 创建存储桶
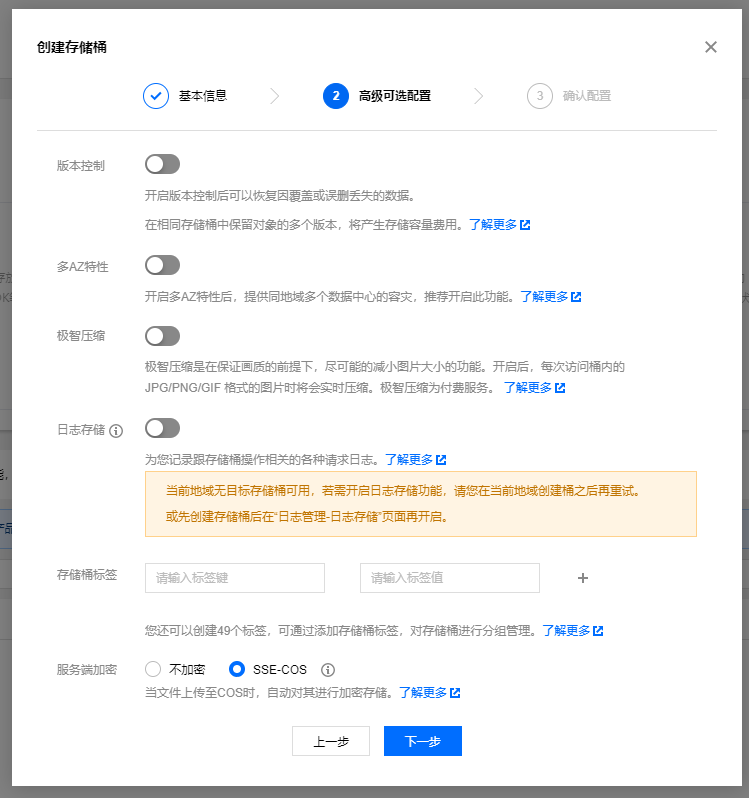
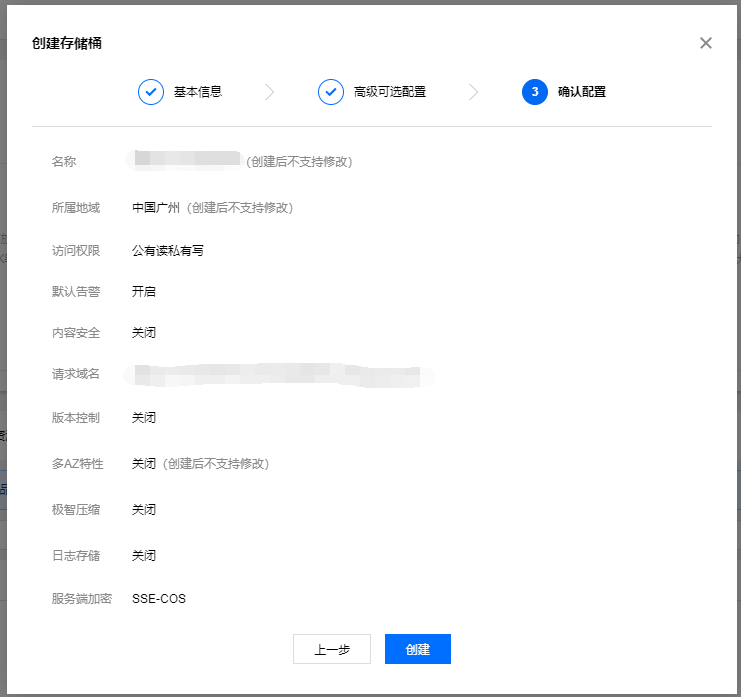
依次填写好基本信息,一些增值的服务对我没啥用就没选了。
这里的访问权限我设置成公有读私有写,因为项目要上线用的,这里的设置也要看个人需求了
公有读可能会造成收费哦
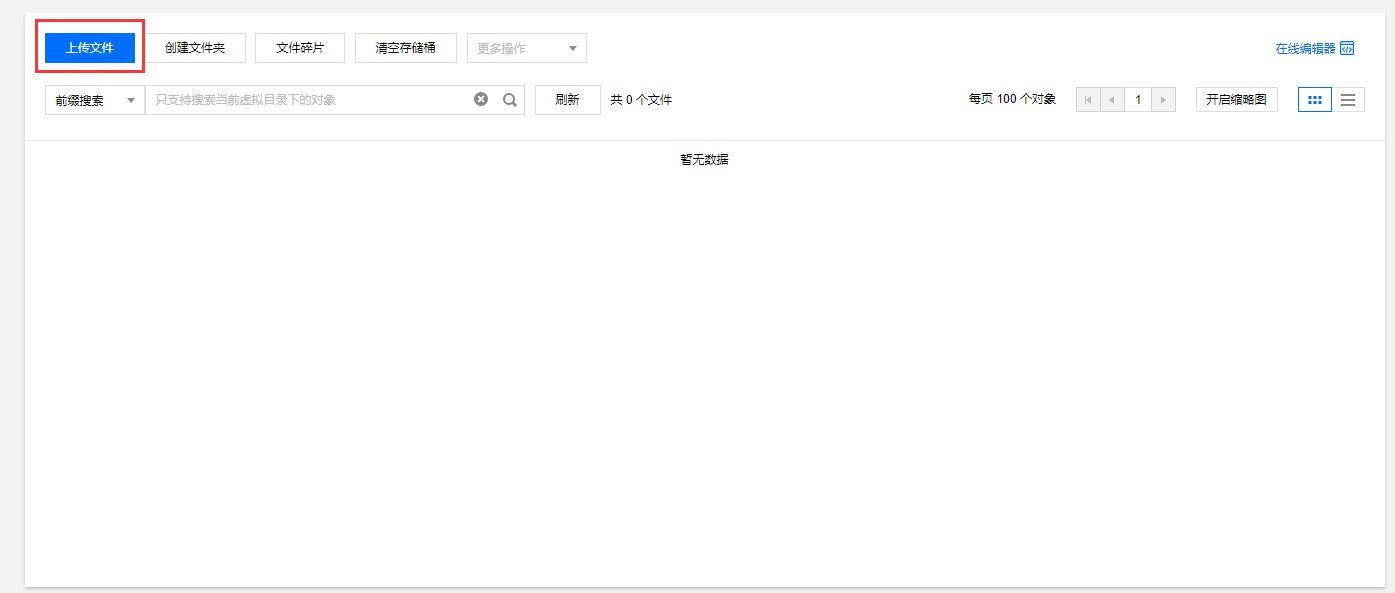
3. 测试
创建好存储桶后,就可以测试一下能不能用啦
4. 创建访问密钥
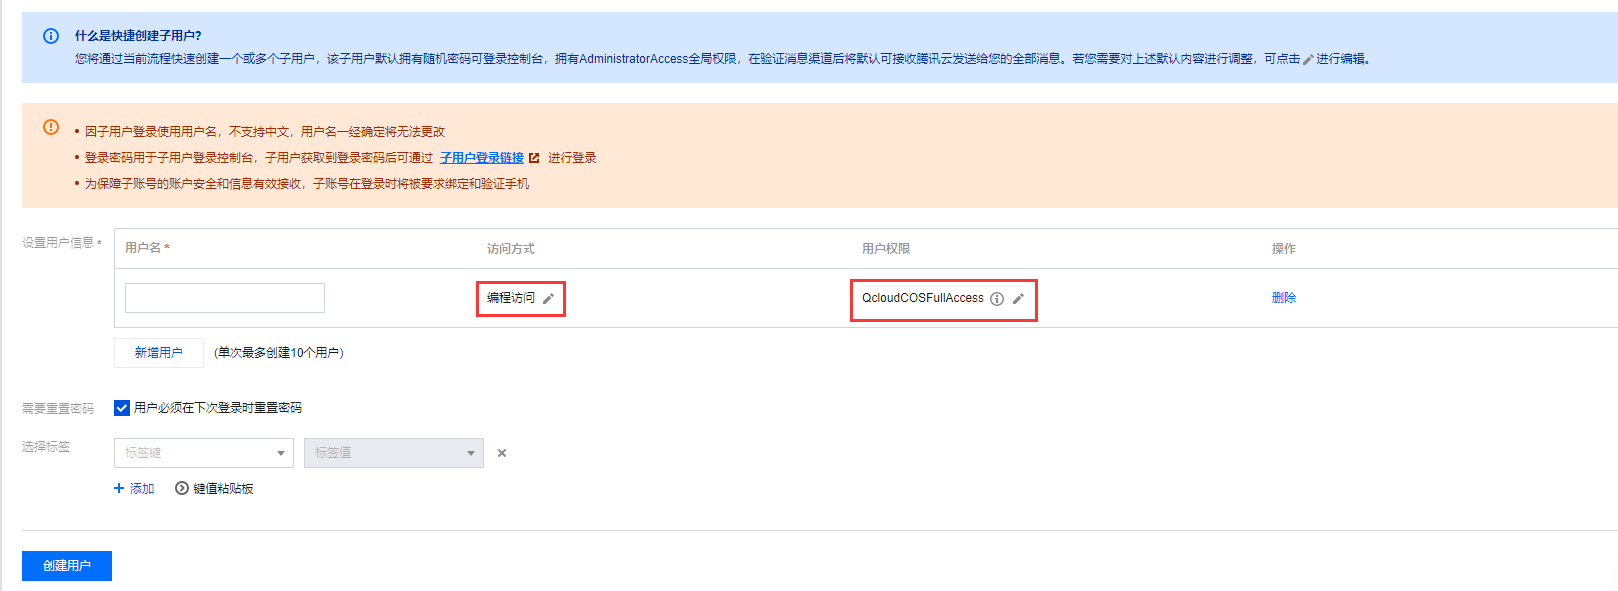
用户->访问管理->访问密钥->API密钥管理
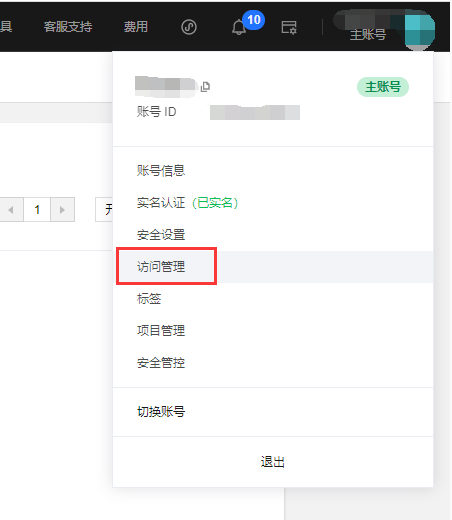
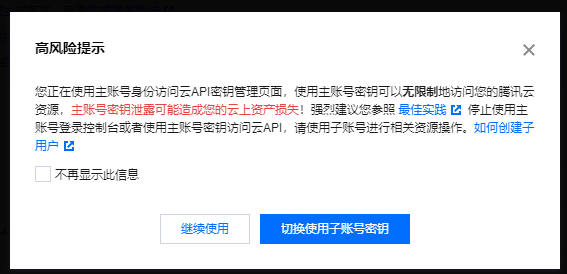
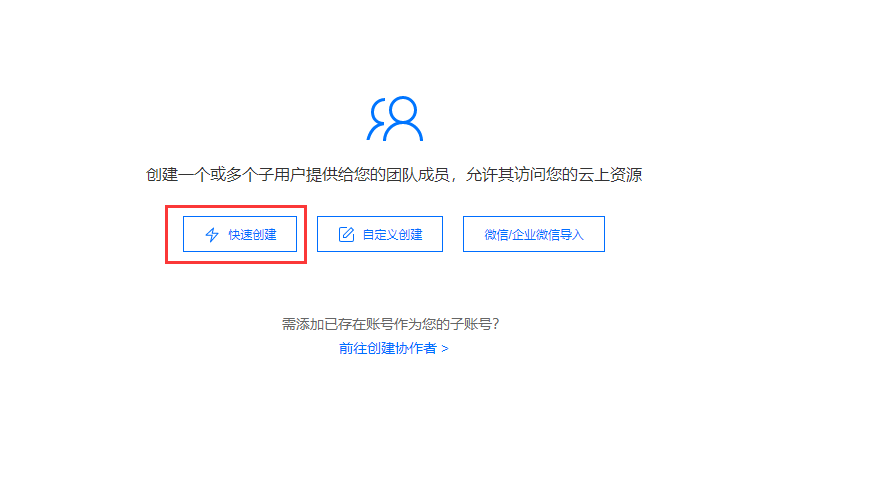
这里会有高风险提示,选择切换使用子账号密钥,然后就快速创建就行
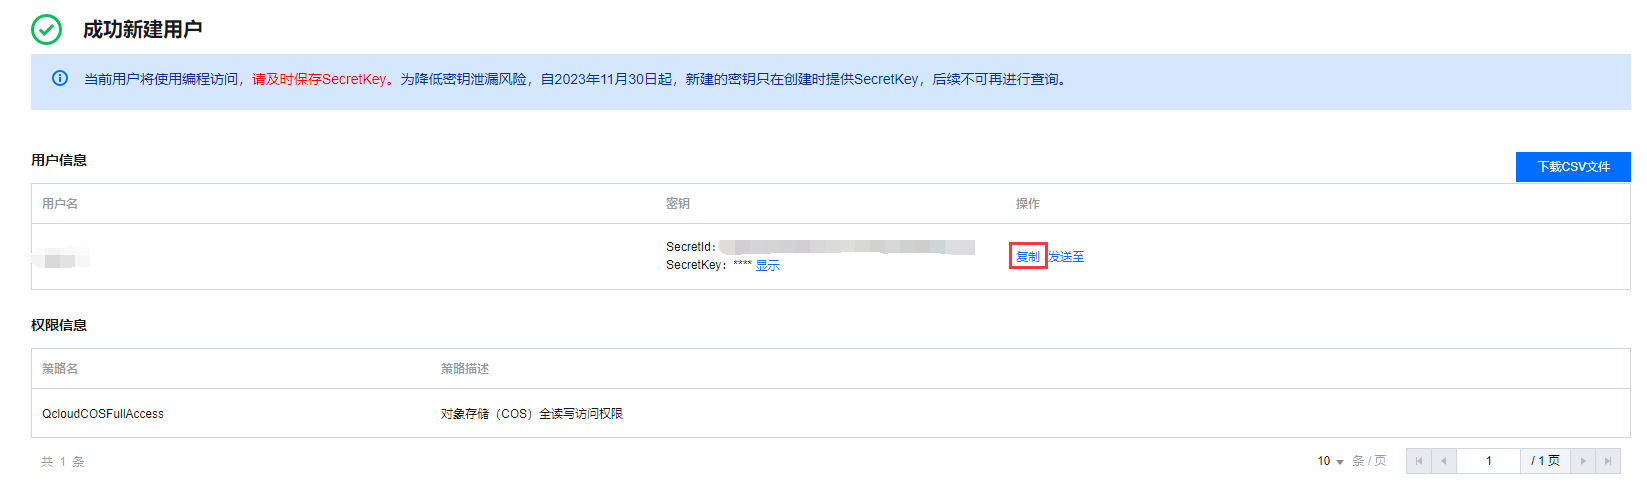
访问方式要选择编程访问,用户权限选择QcloudCOSFullAccess,创建好后记得要复制好信息,保存好Id和Key
2. Java API访问
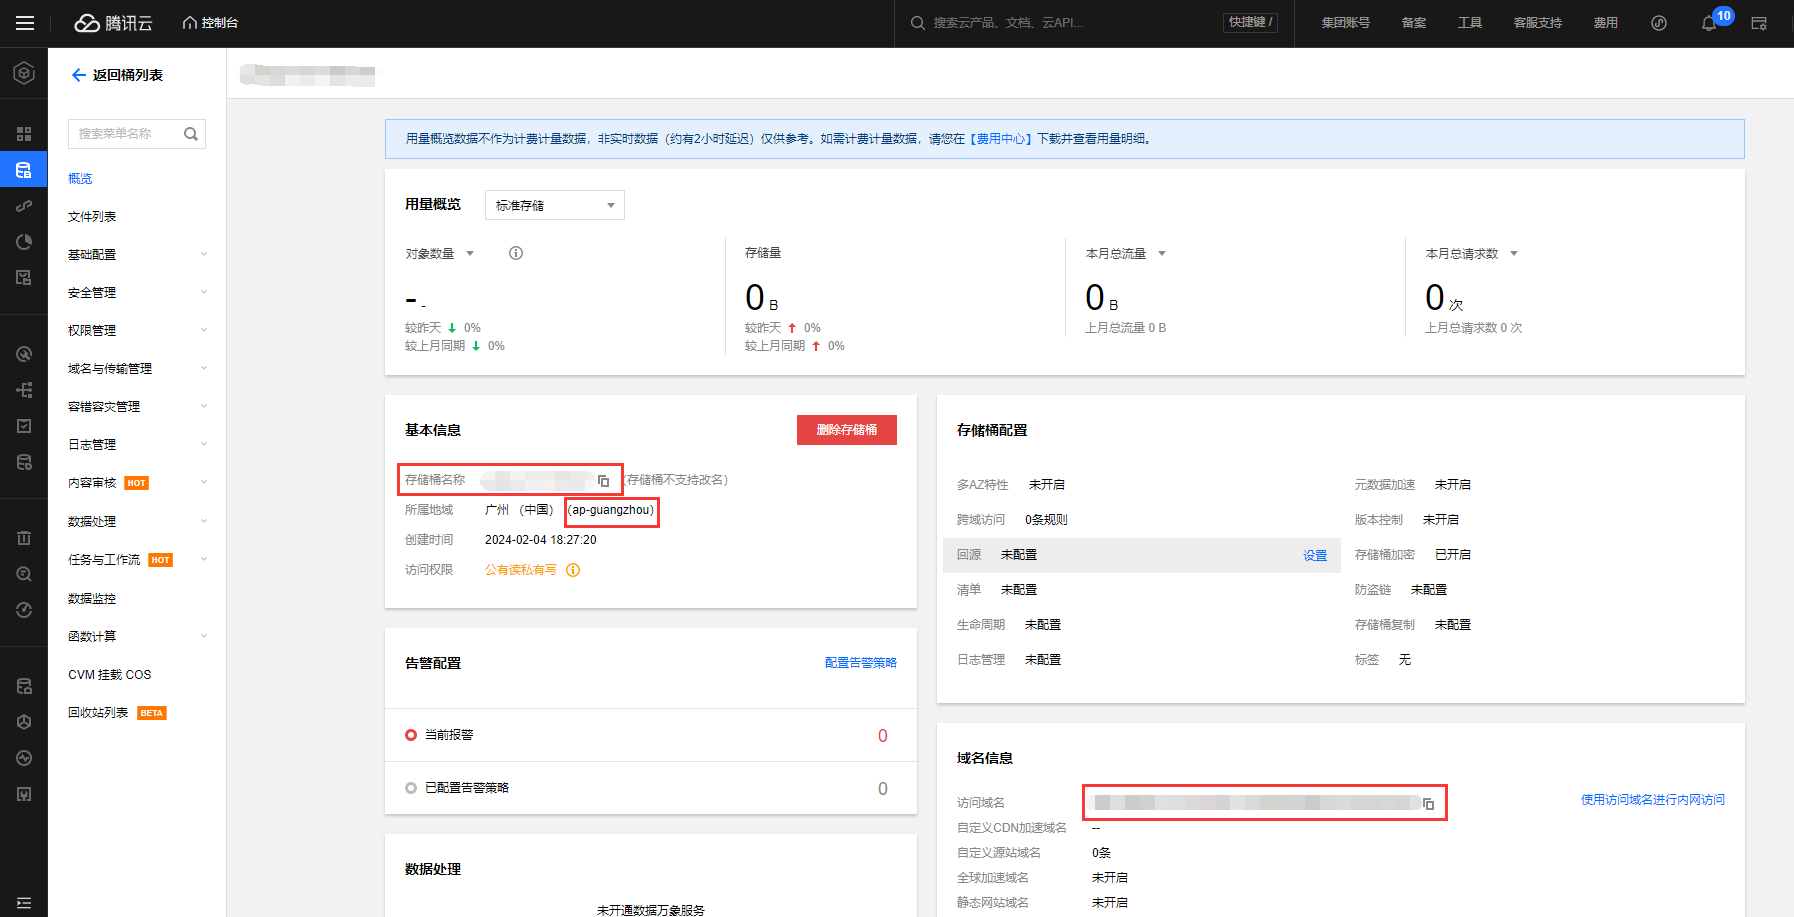
1. 复制存储桶信息
控制台->搜索->对象存储 ->存储桶列表,选择刚刚创建的存储桶
复制下面圈起的信息
2. 引入依赖
依赖坐标可能并非最新版本,请 单击此处 获取最新版本。
1
2
3
4
5
6
|
<dependency>
<groupId>com.qcloud</groupId>
<artifactId>cos_api</artifactId>
<version>5.6.191</version>
</dependency>
|
3. 添加配置
下面的配置就是之前提到信息
1
2
3
4
5
6
|
tencent.cos.secretId=
tencent.cos.secretKey=
tencent.cos.bucketName=
tencent.cos.region=
tencent.cos.url=
|
1
2
3
4
5
6
7
|
tencent:
cos:
secretId:
secretKey:
bucketName:
region:
|
4. 创建TencentCosConfig配置类
1
2
3
4
5
6
7
8
9
10
11
12
13
14
15
16
17
18
19
20
21
22
23
24
25
26
27
28
29
30
31
32
33
| import com.qcloud.cos.COSClient;
import com.qcloud.cos.ClientConfig;
import com.qcloud.cos.auth.BasicCOSCredentials;
import com.qcloud.cos.auth.COSCredentials;
import com.qcloud.cos.region.Region;
import org.springframework.beans.factory.annotation.Value;
import org.springframework.context.annotation.Bean;
import org.springframework.context.annotation.Configuration;
@Configuration
public class TencentCosConfig {
@Value("${tencent.cos.secretId}")
private String secretId;
@Value("${tencent.cos.secretKey}")
private String secretKey;
@Value("${tencent.cos.region}")
private String region;
@Bean
public COSClient cosClient() {
COSCredentials cred = new BasicCOSCredentials(this.secretId, this.secretKey);
Region region = new Region(this.region);
ClientConfig clientConfig = new ClientConfig(region);
COSClient cosClient = new COSClient(cred, clientConfig);
return cosClient;
}
}
|
5. 直接注入使用
图省事就没创建service[doge],自己定义返回类
1
2
3
4
5
6
7
8
9
10
11
12
13
14
15
16
17
18
19
20
21
22
23
24
25
26
27
28
29
30
31
32
33
34
35
36
37
38
39
40
41
42
43
44
45
46
47
48
| import com.qcloud.cos.COSClient;
import com.qcloud.cos.model.PutObjectRequest;
import lombok.RequiredArgsConstructor;
import lombok.extern.slf4j.Slf4j;
import org.springframework.beans.factory.annotation.Value;
import org.springframework.web.bind.annotation.RequestMapping;
import org.springframework.web.bind.annotation.RequestPart;
import org.springframework.web.bind.annotation.RestController;
import org.springframework.web.multipart.MultipartFile;
import javax.validation.constraints.NotNull;
import java.io.InputStream;
import java.util.Date;
@RestController
@RequestMapping("/system/CosFile")
@RequiredArgsConstructor
@Slf4j
public class CosFileController {
@Value("${tencent.cos.bucketName}")
private String bucketName;
@Value("${tencent.cos.url}")
private String url;
@NotNull
private final COSClient cosClient;
@RequestMapping("/upload")
public String upload(@NotNull @RequestPart("file") MultipartFile file) {
try {
InputStream inputStream = file.getInputStream();
String filePath = new Date().getTime() + "@" + file.getOriginalFilename();
cosClient.putObject(new PutObjectRequest(bucketName, filePath, inputStream, null));
return url + "/" + filePath;
} catch (Exception e) {
String message = e.getMessage();
log.error(message);
return message;
}
}
}
|
 微信
微信 支付宝
支付宝